
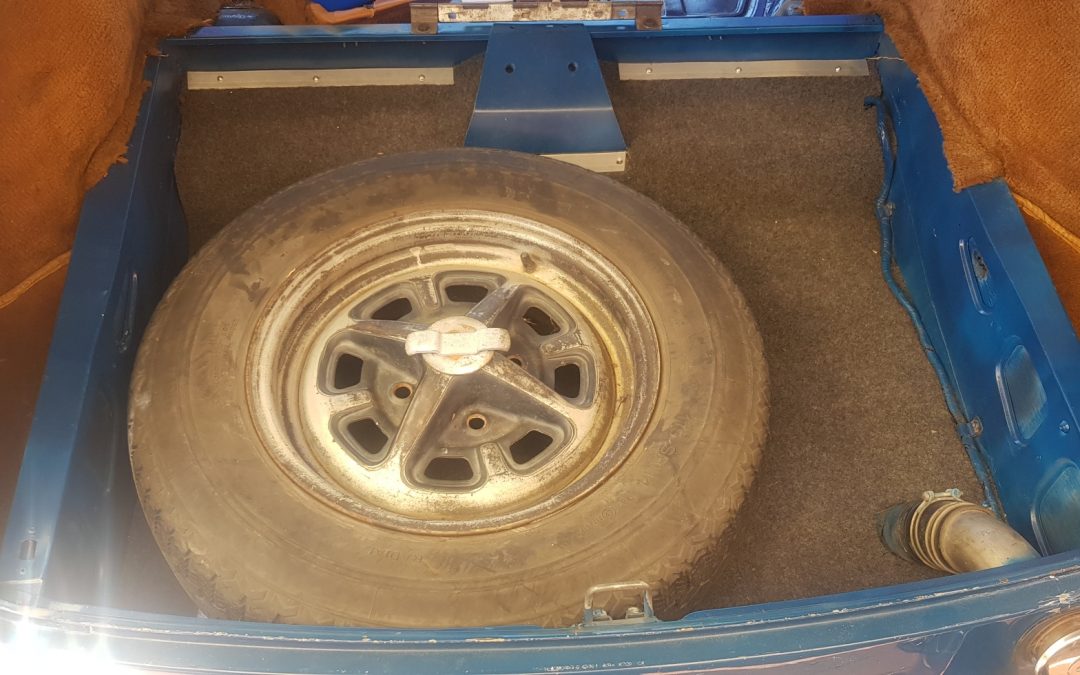
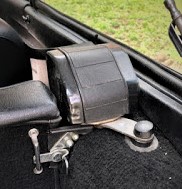
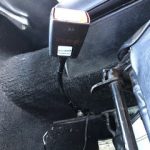
MGB GT Teal Blue Project Part 6 Boot Carpet.
After this job was completed I started to notice that many pics of GT’s online had an untidy boot space. It seems logical to me to tidy it up. Therefore, this is how I tidied up the boot space on the GT project.
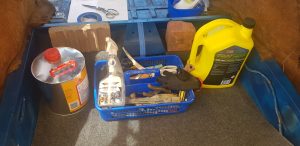
I chose a budget-friendly car carpet in neutral grey tones from a local supplier. Additionally, as the plan is to do quite a few of the interior carpet pieces myself, I thought it prudent to learn some trimming tricks and tips. Quite a few tutorials later I realised I would also need to shop for some decent tools before making a start.
How to:
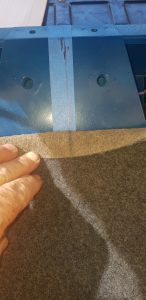
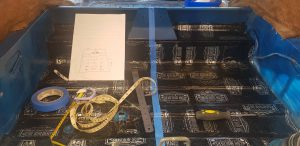
There are some tips to get a clean fitting finish. A centre line in the boot was marked on some low tac tape as a reference point. Additionally, a centre line was marked on the backside of the carpet with a suitable marker. Checked multiple times, the measurements were transferred to the carpet. Being my 1st attempt I cut roughly 5mm over the lines to stay on the safe side. I anticipate my skills improving the more I do this.
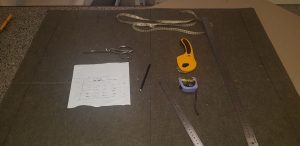
The ribs in the boot floor were also measured and marked on the carpet as reference points. I found with more reference points to check it’s easier to get the curved lines marked out on the carpet. I used a compass to mark out circles. Importantly, regularly put the carpet piece in and out of the boot making cuts to check the centre lines and reference points. This keeps you on track.
Moulding Carpet:
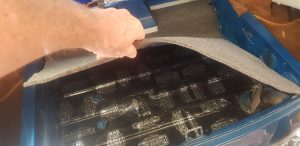
To mold carpet in internal corners or contours, spray the area with warm water from a spray bottle. Then, shape and form it with your fist or wooden handle as you place weights to hold the carpet in place. Finally, I left it overnight to help it retain its shape. This process of spaying with hot water, moulding, the use of weights and leaving it overnight works.
Fine-tuning:
With the reference points, I was able to get a neat curved line at the back. Additionally, that 5mm left on my 1st cuts were slowly trimmed, regularly putting it in the boot and checking the centre lines and reference points. Importantly, I used this method to get a clean cut around the fuel filler hose as well.
Happy with my handy work, I contemplated how to finish it off neatly around the shelf towards the front. I simply chose to use some flat aluminium strips screwed down with stainless steel screws. This works well because it secures the carpet in the boot and as a finishing trim it looks good and makes the job look neat. Also, it can easily be lifted up to clean or vacuum, and it can easily be taken out to return the car to the original equipment.
Repairs:
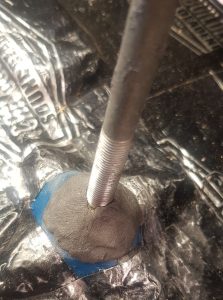
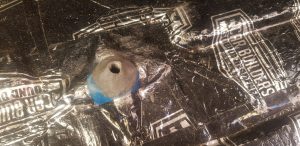
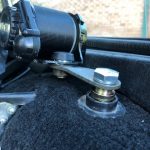
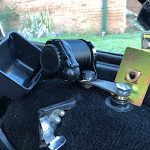
The nut inside the wheel clamp point on the boot floor had worked loose. The repair was going to be necessary for it to work properly. With the surfaces prepared and the wheel retainer screwed into the nut, a piece of 2 pack weld putty from the local hardware was properly kneaded then worked into the hole where the nut locates. Secondly, the clamp was screwed down to force the nut up and hold it in position while the putty set. Thirdly, with the nut properly located, some more weld putty was moulded over and around the clamp fitting. The wheel retainer works properly now and keeps the spare wheel safely clamped down.
Happy MG trails….

Recent Comments